How to Create an Effective Flutter README
Summary
A well-structured README is important for any Flutter project, offering clear instructions on installation, usage, and contributions. Key sections include the project title, description, supported platforms, setup, testing, and optional areas like usage examples, contribution guidelines, and licenses. Tools like Very Good CLI can automate README creation, ensuring a professional, organized project.
Key insights:
Badges Enhance Clarity: Adding badges for build status, code coverage, and license helps users and developers quickly gauge the project’s status.
Essential Sections: A README should contain critical sections like project title, description, supported platforms, setup instructions, and testing guidelines for clarity and ease of use.
Visual Engagement: Incorporating screenshots, GIFs, and videos improves user understanding and engagement, making complex instructions easier to follow.
Contribution and Licensing: Including clear contribution guidelines, code of conduct, and a license fosters collaboration and sets clear terms for using and modifying the project.
Flavor Management: For projects with multiple environments (e.g., development and production), including a section on Flavors helps developers switch configurations easily.
Automation with Very Good CLI: Using tools like Very Good CLI simplifies project setup by automating README creation, adding badges, and integrating features like spell-check and flavors, ensuring a polished and professional structure.
Accessibility and Best Practices: Ensure visuals are optimized for web use and add alt text for accessibility. A uniform style across images and consistency in structure improves readability and accessibility.
Introduction
A well-structured README file is a critical component of any project. For Flutter apps, this document plays a vital role in ensuring that users and developers can easily understand the project’s purposes, set up the app, and contribute. A clear README not only enhances the overall user experience but also streamlines collaboration among developers.
This article will walk you through the key sections and best practices for structuring a Flutter README, helping you create a valuable resource that effectively communicates your app’s features, functionality, and development instructions.
Badges
Adding badges to your README file is a great way to give users and developers a quick overview of the project’s status. Badges visually represent key information like build status, code coverage, and dependencies in a concise format.
For example, a Build Status badge shows the stability of the latest build, reassuring contributors that the code is up to date and passess necessary tests. A Code Coverage (highly recommended) badge indicates how much of the codebase is covered by tests to help users gauge its reliability. Lastly, a License badge clarifies under which terms the project can be used or modified.
You can generate badges from various sources such as GitHub Actions. These badges are typically placed at the top of your README, right after the project title and description so that they are immediately visible to users.
Basic README Sections
Each README file should contain essential information, broken down into structured sections - regardless of the framework being used. This section covers a breakdown of these essential sections.
1. Project Title
Your project’s title should be clear and concise. It is the first thing developers and users will see so it should set expectations appropriately. Consider adding a tagline or a brief one-liner to summarize the project’s key purpose.
Example:
2. Project Description
This section is important for explaining what your app does and its key features. Mention what sets your app apart and how it solves specific problems. A few lines about the technology stack (i.e., Flutter and Dart) may be relevant for first-time Flutter users. You may also consider using visual aids like screenshots, gifs, or even video walkthroughs to make the description more engaging.
Example:
3. Supported Platforms
Outline which platforms your Flutter app supports. Does it work on Android, iOS, web, and desktop? Mention this explicitly and provide any limitations if there are platform-specific features or requirements.
Example:
Setup Instructions
The setup instructions ensure developers can easily install and run your Flutter project. This section should be as detailed and user-friendly as possible. To ensure this, you can imagine you are writing instructions for new Flutter developers to run your app.
1. Installation
Start by listing all prerequisites, such as having the Flutter SDK and Dart installed. Add links to resources where users can install these if they have not already. Follow this with a step-by-step guide for setting up the project, from cloning the repository to installing dependencies.
Example:
2. Running the App
Provide instructions for running the app on different platforms (iOS, Android, web, etc.). Specify if there are any platform-specific instructions such as setting up Xcode for iOS or enabling web support.
Example:
3. Overview of Flavors
If your app has multiple environments (e.g., development, staging, production), you will want to include a Flavors section to explain how to run each configuration. To read more about Flavors and understand why it is considered best practice to set them up, check out this insight. Include specific commands for each flavor as well as how to create builds for different environments. This is one of the exceptions to the DRY (Don’t Repeat Yourself) principle. You should make sure that each build configuration is clearly written even if it means repeating yourself to ensure developers/users can easily set these up.
Example:
4. Version Dependencies (Optional)
It might be helpful to explicitly mention any version dependencies (e.g., minimum Flutter version) in the installation steps.
Example:
Testing and Quality Assurance
Testing and quality assurance are essential in the development process, and by incorporating a good testing strategy, developers can identify bugs and issues before development, which reduces the risk of errors. This section covers the testing process to ensure developers know how to run the appropriate tests and maintain the code quality.
1. Running Tests
Explain how to run the available tests in your Flutter project including unit tests, widget tests, and integration tests. Clearly outline the required commands to execute tests and emphasize their importance in the development process.
Example:
2. Working with Translations
If your app supports multiple languages, explain how localization is handled using the relevant localization tool. Provide details on adding new languages and how translations are integrated into the app.
Example:
Additional README Sections
Adding additional sections can enhance the appeal of a README file. A comprehensive README file informs users about the project and also invites contributions. By laying out essential information, it should be made simpler for others to engage with your project.
1. Usage
A usage section helps users and developers interact with your app more effectively. This section can include tips on common workflows or features. Using visual aids like screenshots may make it easier to follow.
Example:
2. Contributing
Encouraging contributions from developers is essential to improving and expanding your project. To make it easier for others to collaborate efficiently, provide clear contribution guidelines so they can follow the process process. In larger-scale or open-source projects, a structured approach helps maintain code quality and consistency.
3. License
Clarify the terms of use and modifications through a well-defined license (e.g., MIT, Apache, GPL).
4. Credits
Acknowledgments demonstrate humility and also build a sense of community. In this section, you should credit the collaborators, and resources that influenced the project. Providing links to the social media accounts of the mentioned individuals may form a collaborative spirit and allow others to connect with the contributors. This should also help in attracting future collaborators.
5. FAQ Section
If there are commonly asked questions about setup or usage, consider adding a small FAQ section to your README.
6. Table of Contents
If your README file is lengthy, you may consider adding a Table of Contents at the top of the document with anchor links to help users navigate through the file.
7. Relevant Links
Providing relevant links in your README ensures that all necessary resources are easily accessible for both contributors and users. This section serves as a centralized location for external documents, design assets, project roadmaps, and other essential information.
8. Code Styling Guidelines
Maintaining consistent code style across a project is essential for readability, collaboration, and long-term maintenance. By either defining guidelines the README or linking to a different file named CODESTYLE, you can provide clear guidelines on naming conventions, structuring imports, how to add new features, and any specific rules developers should follow.
9. Code of Conduct
A Code of Conduct is important for maintaining a welcoming and inclusive environment in open-source or large-scale projects. It sets the expectations for how contributors should interact with each other and the community, ensuring that collaboration remains respectful and productive. You may also create a separate CODE_OF_CONDUCT file and link it in your README file.
Visual Engagement
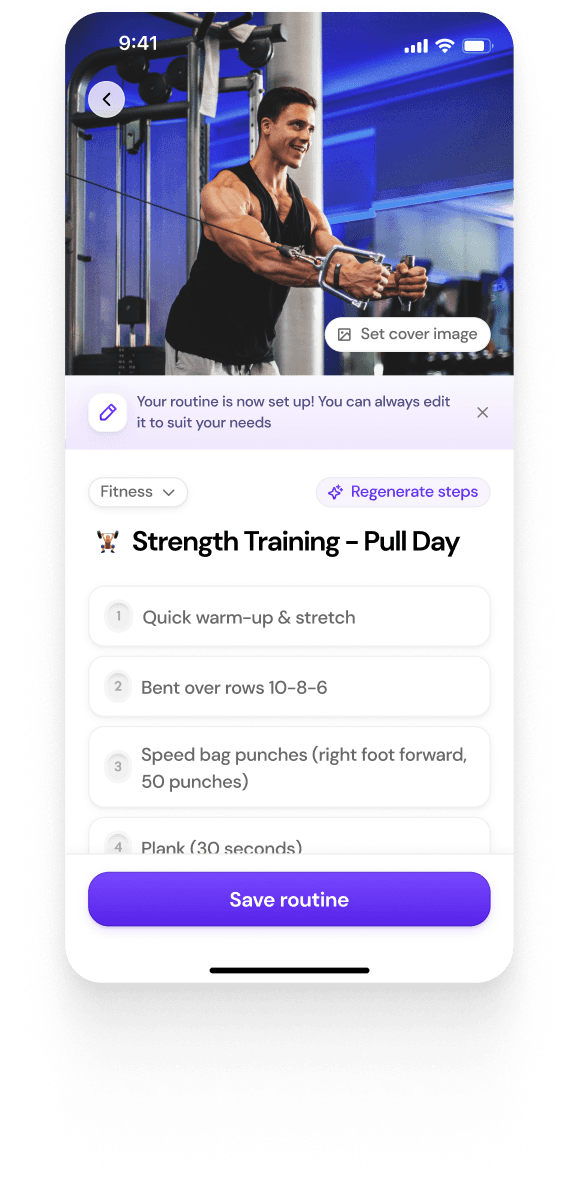
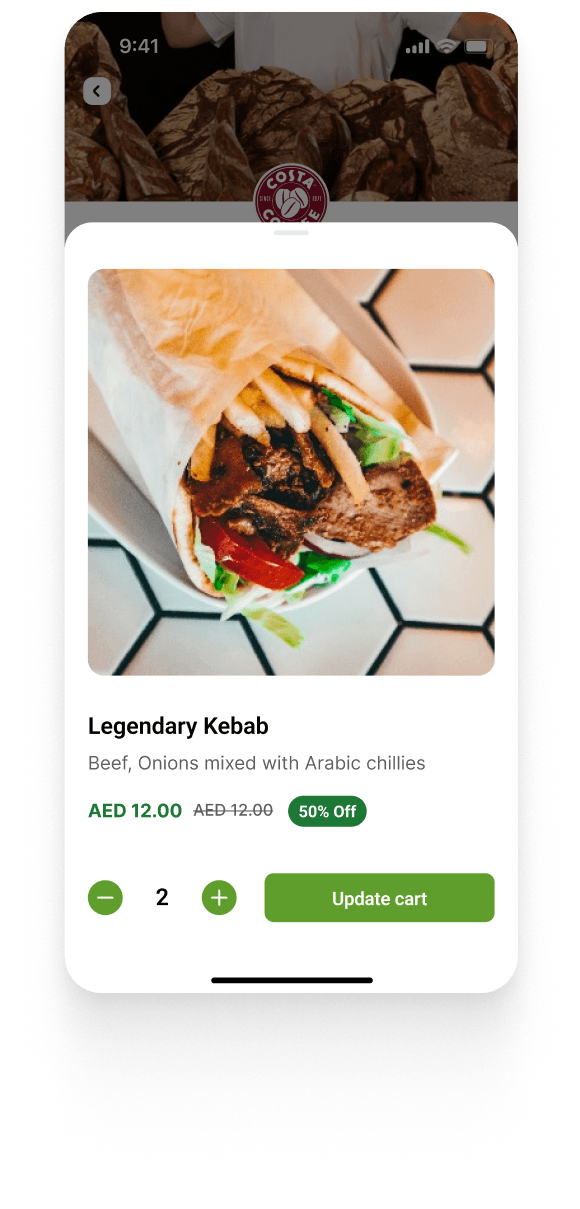
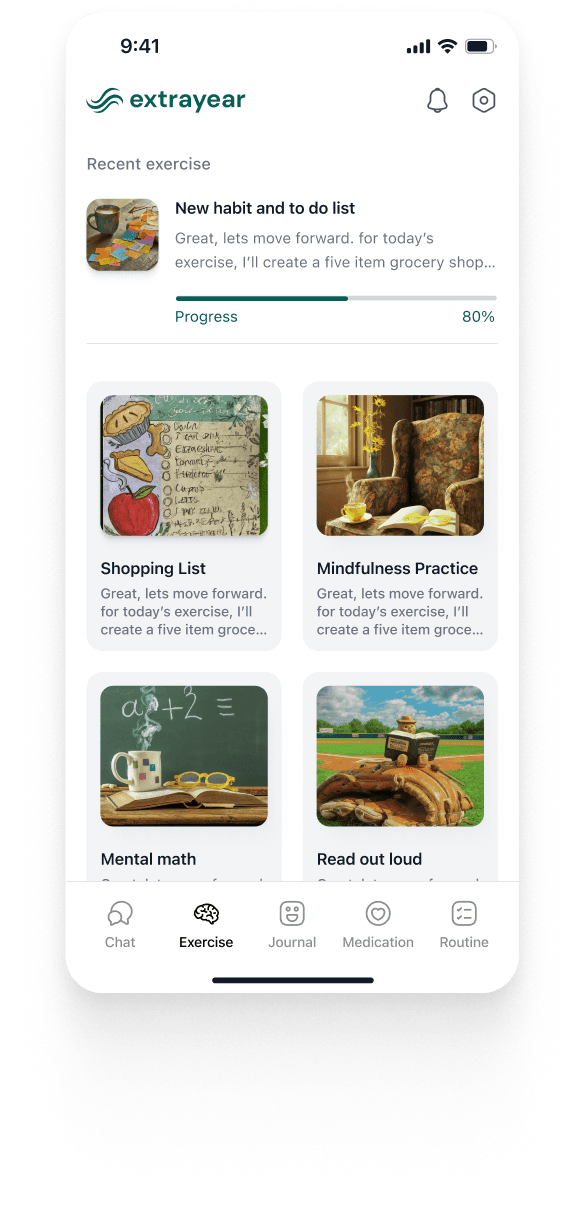
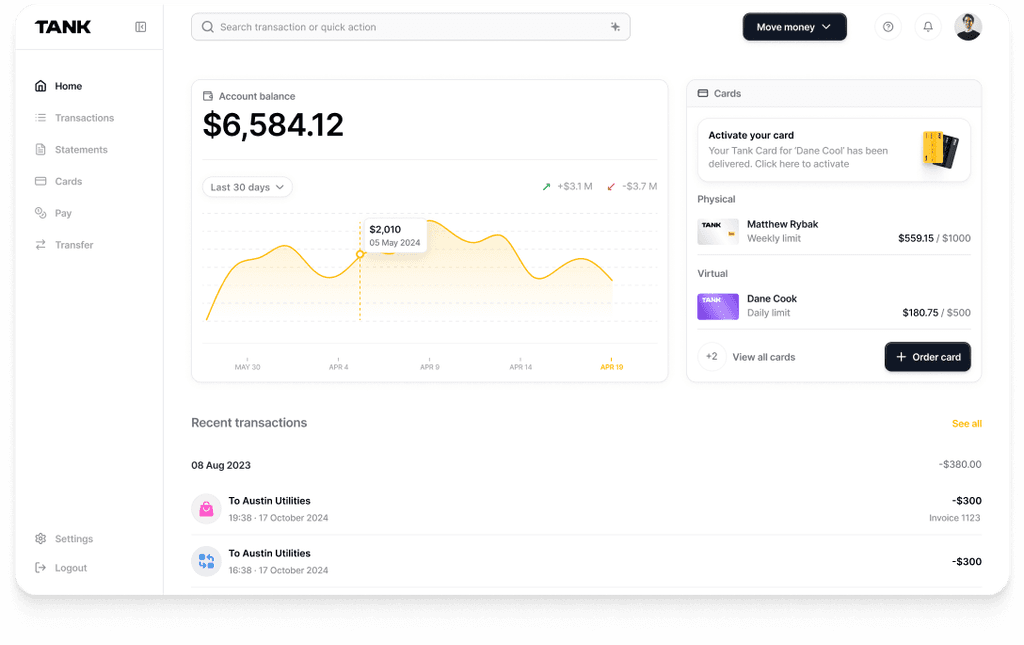
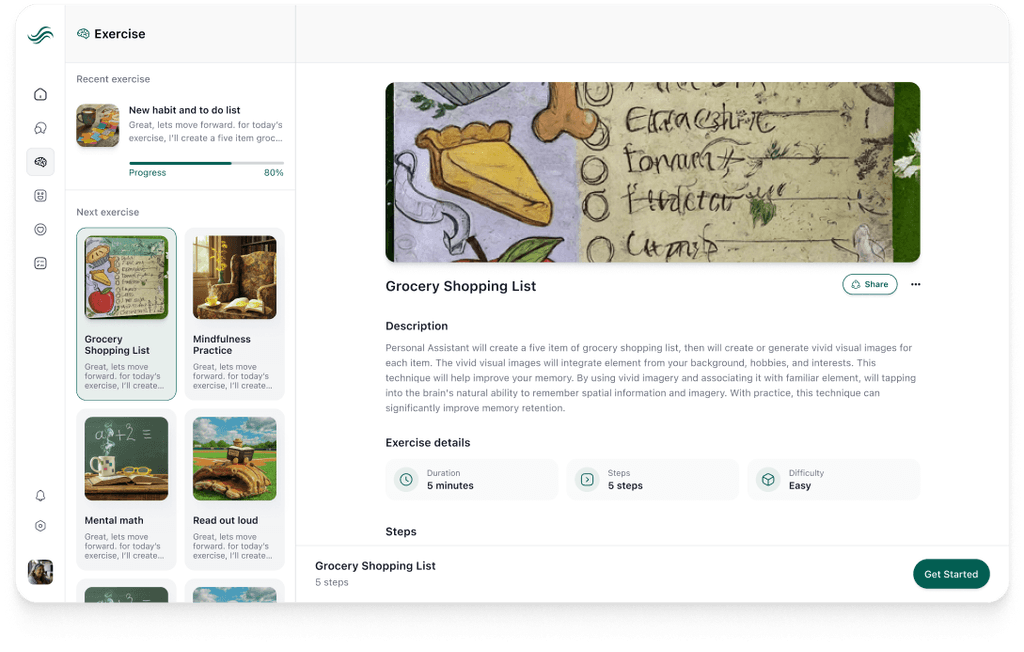
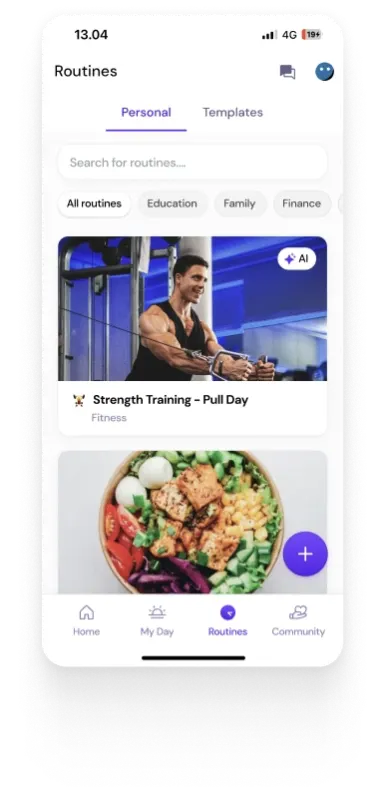
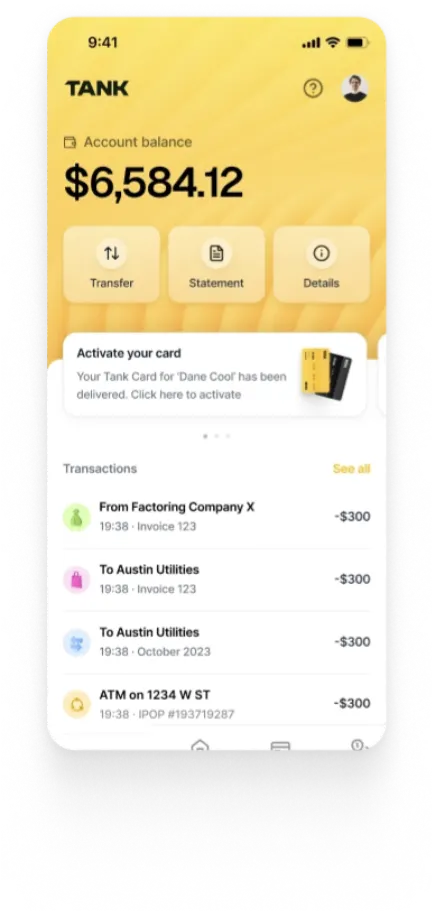
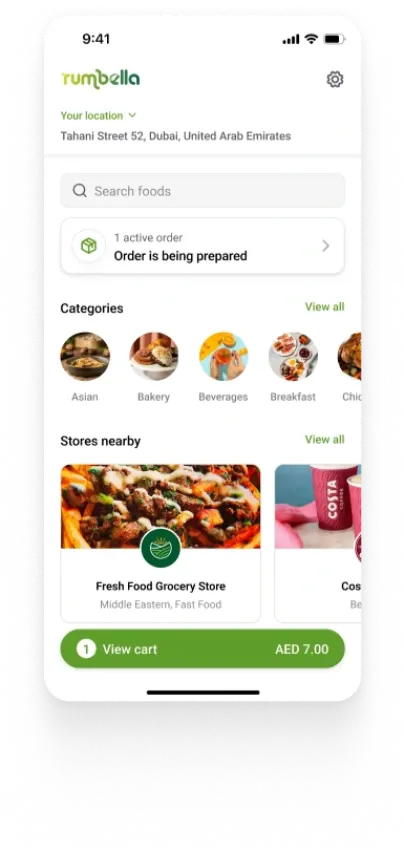
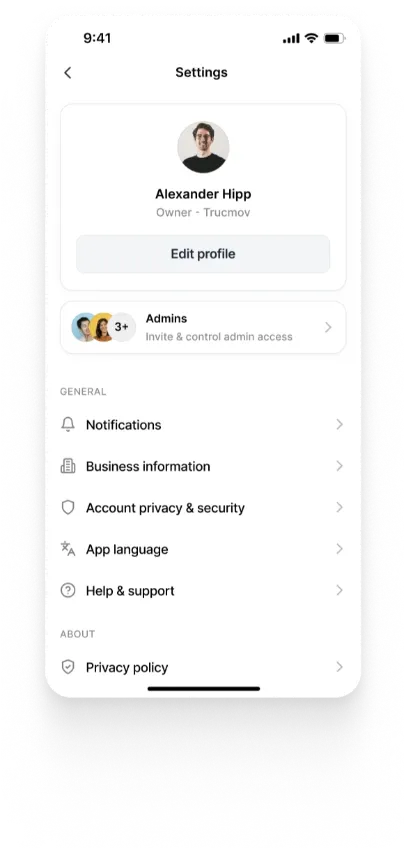
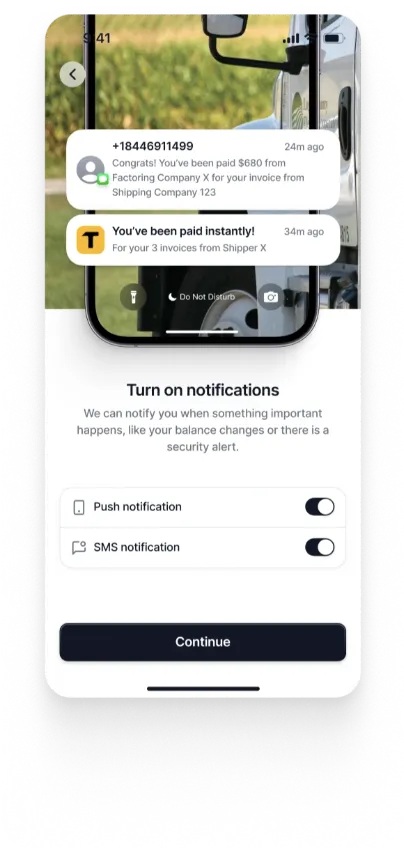
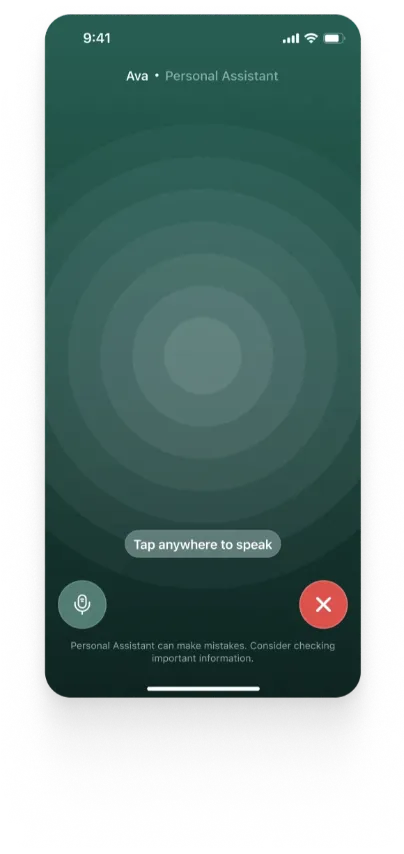
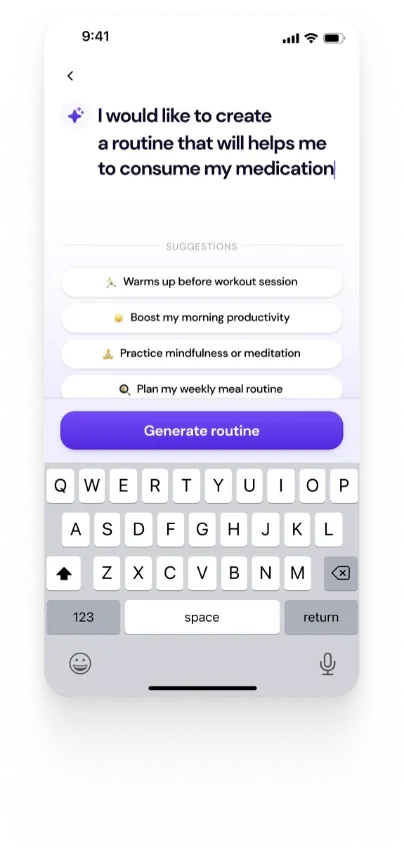
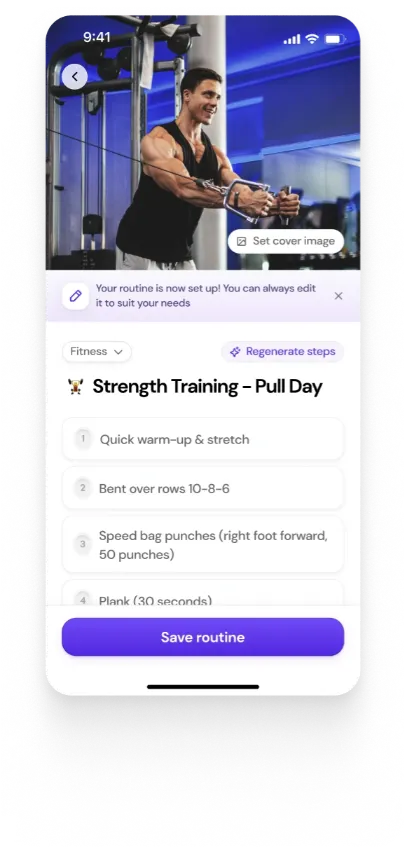
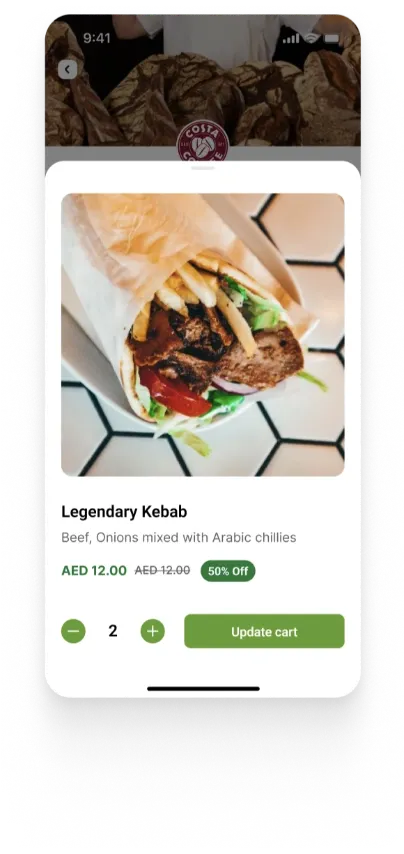
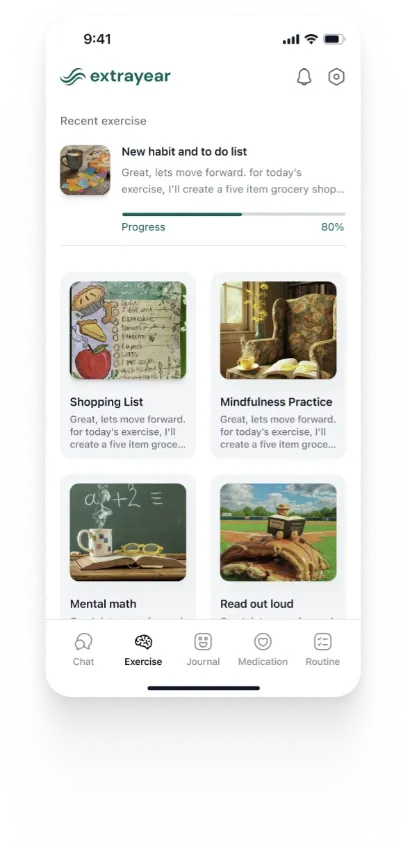
Adding visual elements such as screenshots, GIFs, and videos to your README file enhances its appeal and makes it easier for users and developers to understand your project at a glance. Visual aids can break up large blocks of text and provide immediate context about your app’s functionality and design. For a Flutter app, this could mean showcasing the user interface, walking through specific features, or demonstrating setup steps.
1. Screenshots
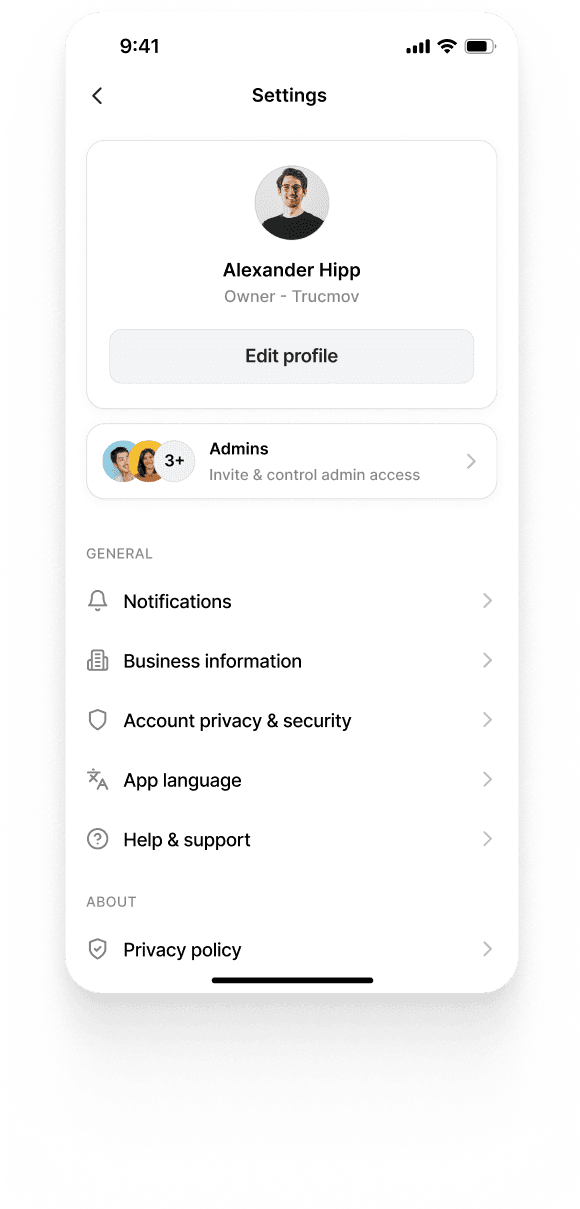
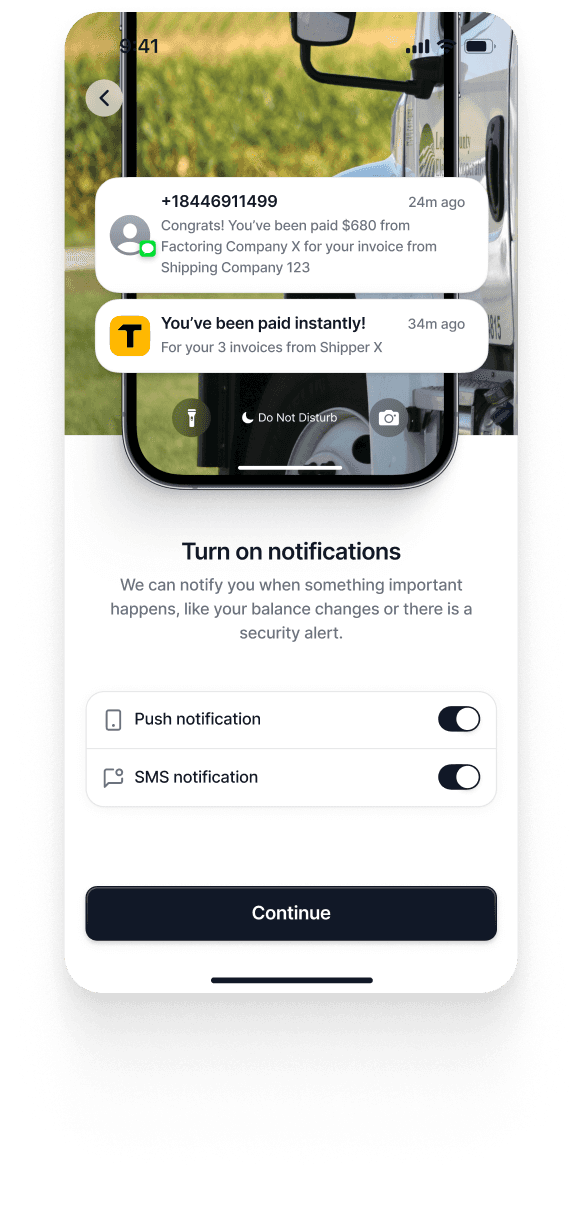
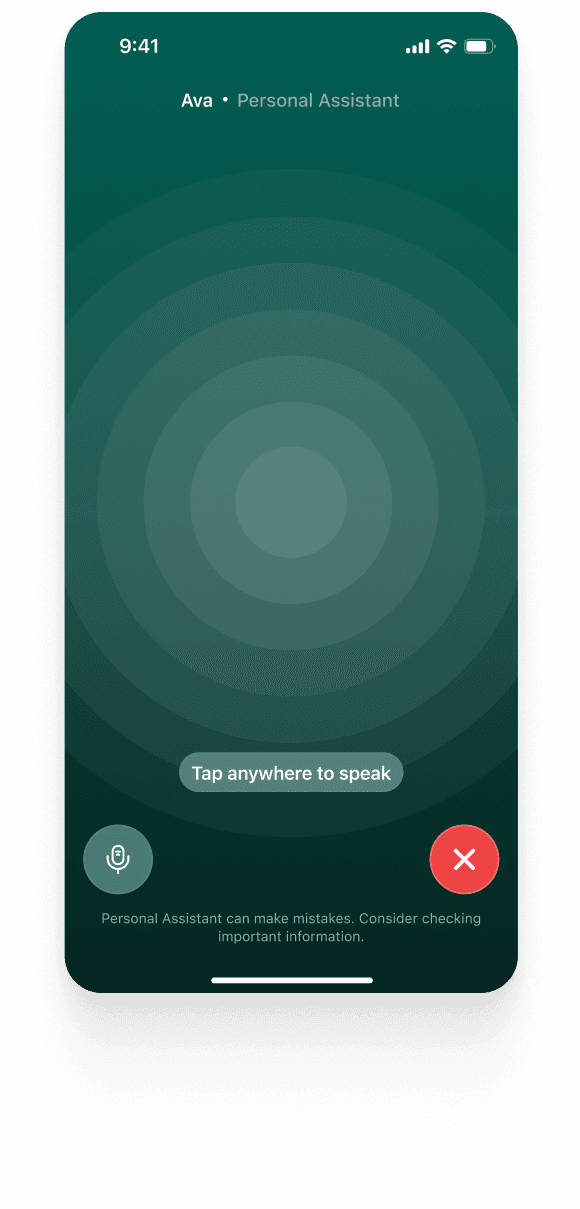
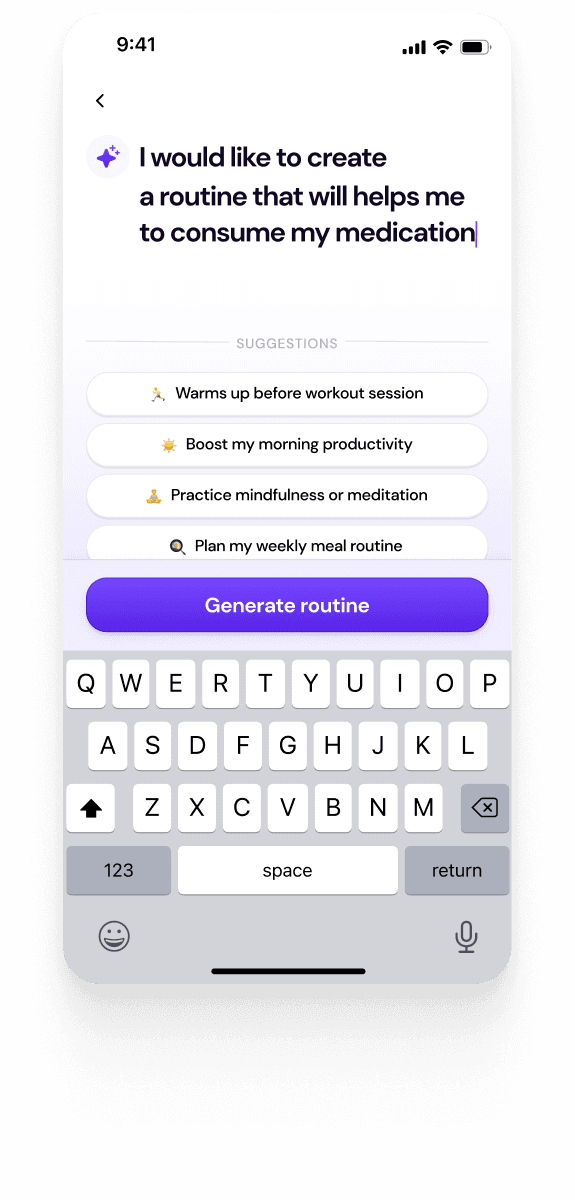
Screenshots are an excellent way to visually represent key parts of your Flutter app. To include screenshots, upload them to your repository and link them within relevant sections of the README. Place these images strategically in sections such as Project Description, Usage, or Setup Instructions.
Example:
2. GIFs
GIFs are useful for showcasing animations, transitions, or step-by-step user interactions. You can create GIFs using third party tools and upload them similarly to how you would with screenshots. To embed a GIF, use the markdown syntax as for images.
Example:
3. Videos
For more complex features or complete walkthroughs, adding a short video can be helpful. Host the video on a platform like Youtube. Then, you can embed a clickable video thumbnail or link directly to the video.
Example:
4. Best Practices for Visual Content
When incorporating visual elements in your README, it is important to follow a few key practices to ensure that your visuals enhance the document without overwhelming users. First, ensure that all images and GIFs are optimized for web use as large files can slow down page loading times. Keeping the image and GIF sizes small while maintaining clarity will make your README more user friendly. Second, try to maintain a uniform style and resolution across all visuals to create a polished appearance. Third, ensure that visual elements serve a clear purpose. Avoid overloading the README with too many images or GIFs as this can make the document feel cluttered. Instead, use visuals strategically to complement the text and highlight important aspects of your project. Lastly, it is essential to provide descriptive alt text and captions with all visual content. Alt text ensures that your README is accessible to users who rely on screen readers or may have trouble loading images.
By following these practices, you can use visual content effectively to make your README more engaging, informative, and accessible.
Very Good CLI for Creating Flutter Apps
Using Very Good CLI is an excellent way to streamline the process of creating a Flutter app while ensuring a professional project structure and high-quality README file. Very Good CLI, developed by Very Good Ventures, automates several tasks that help developers follow best practices right from the start.
When you create a Flutter project with Very Good CLI, it automatically sets up a well-organized folder structure and includes several valuable features for your README file and development workflow. It adds badges to your README file, providing quick visual insights into your project’s build status, test coverage, and more. Additionally, Very Good CLI integrates automatic spell checking in your CI workflow to ensure high quality and error-free documentation. It also includes support for flavors without additional setup.
By using Very Good CLI, you save time on manual configurations while ensuring your project follows best practices for both code organization and documentation. This tool helps you maintain a professional Flutter app with minimal effort.
Conclusion
In conclusion, a well-structured README file is the foundation of an organized project. By including all necessary sections such as installation, usage, and testing guidelines, you can ensure that users and developers can easily interact with your app. With tools like Very Good CLI that automate and improve both your app’s structure and README, you can ensure that your project is technically sound and well-documented from the start.
Authors
Enhance Your Flutter App with a Professional README
A well-structured README is essential for any Flutter project. Let Walturn help you create comprehensive documentation that improves developer collaboration and user engagement. Our team of experts ensures your README file is detailed, professional, and adheres to best practices, making your app easier to understand and contribute to.
References
Very Good CLI. cli.vgv.dev.


